Pairing with your head unit
-
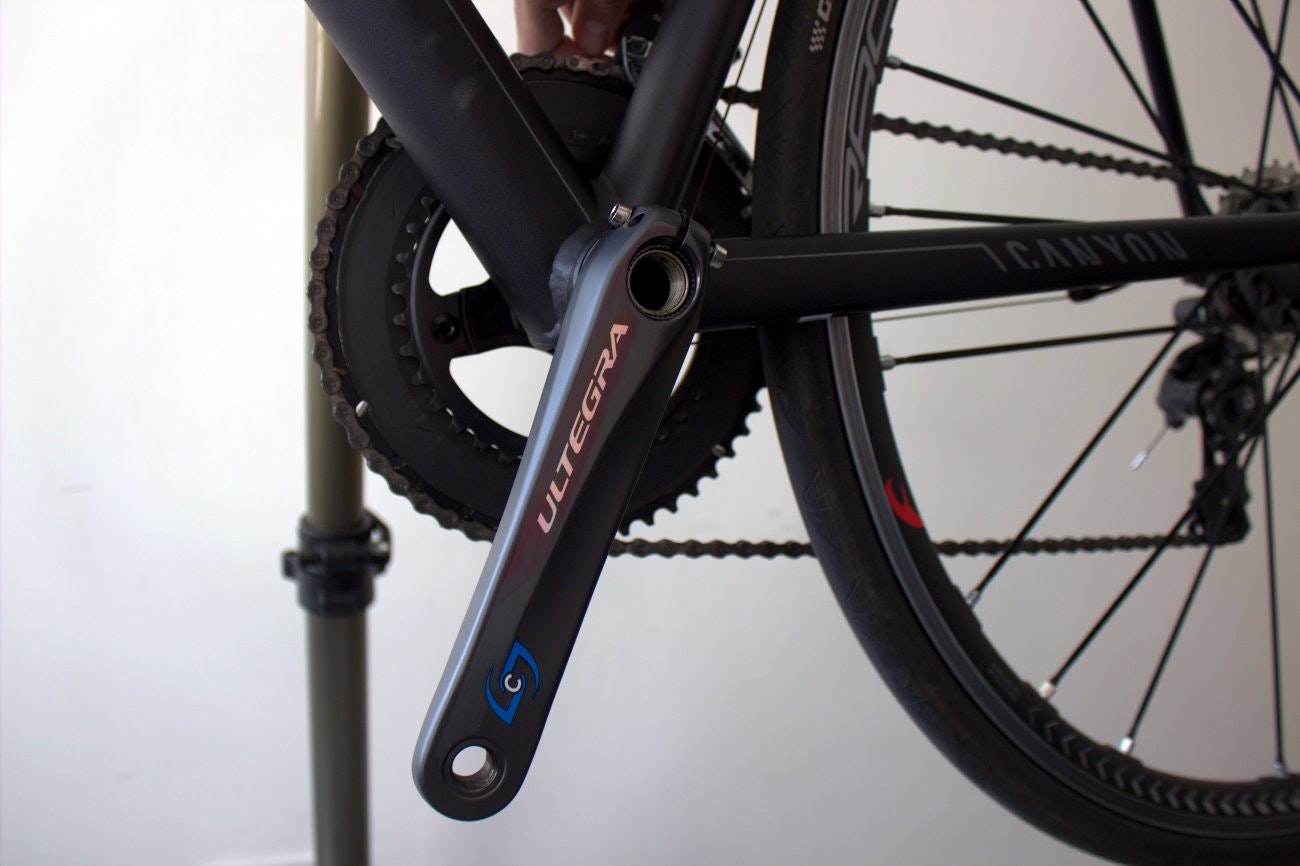
Power meters have dropped significantly in price in recent years
-
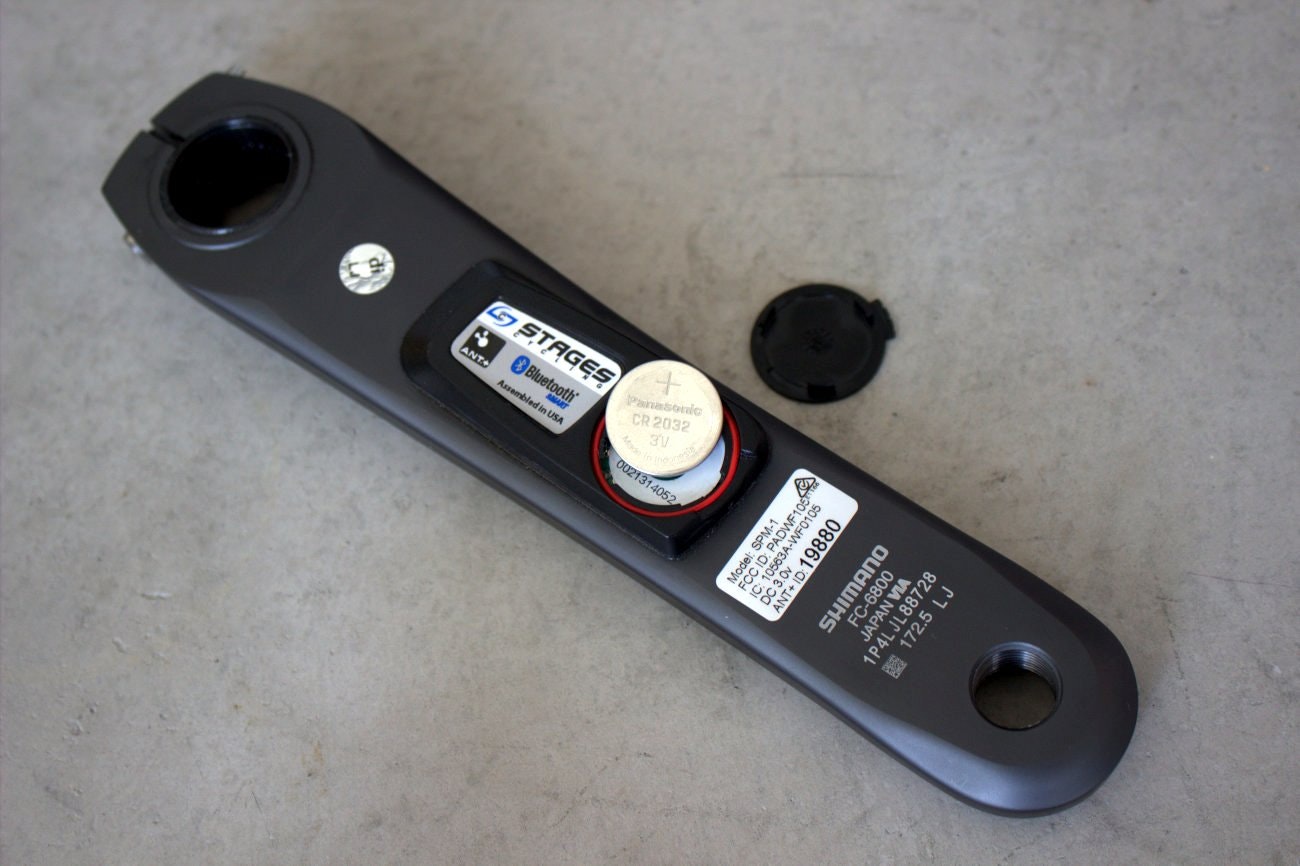
You can install the battery after you've mounted the crank, but it's definitely easier to do it this way round the first time
-
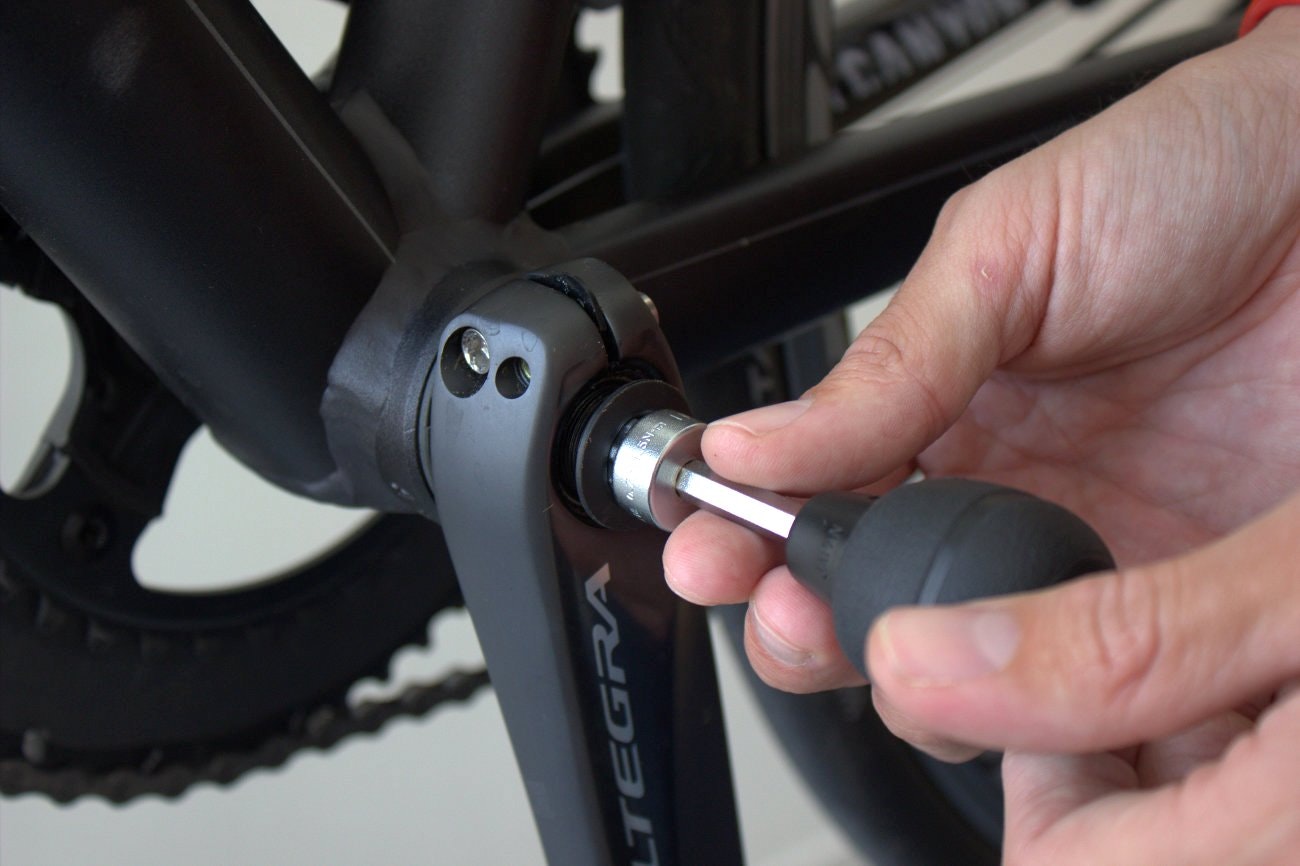
Make sure the two 5mm allen bolts are suitably loose before you try and remove the star preload bolt, otherwise you'll find that it requires an inordinate amount of force
-
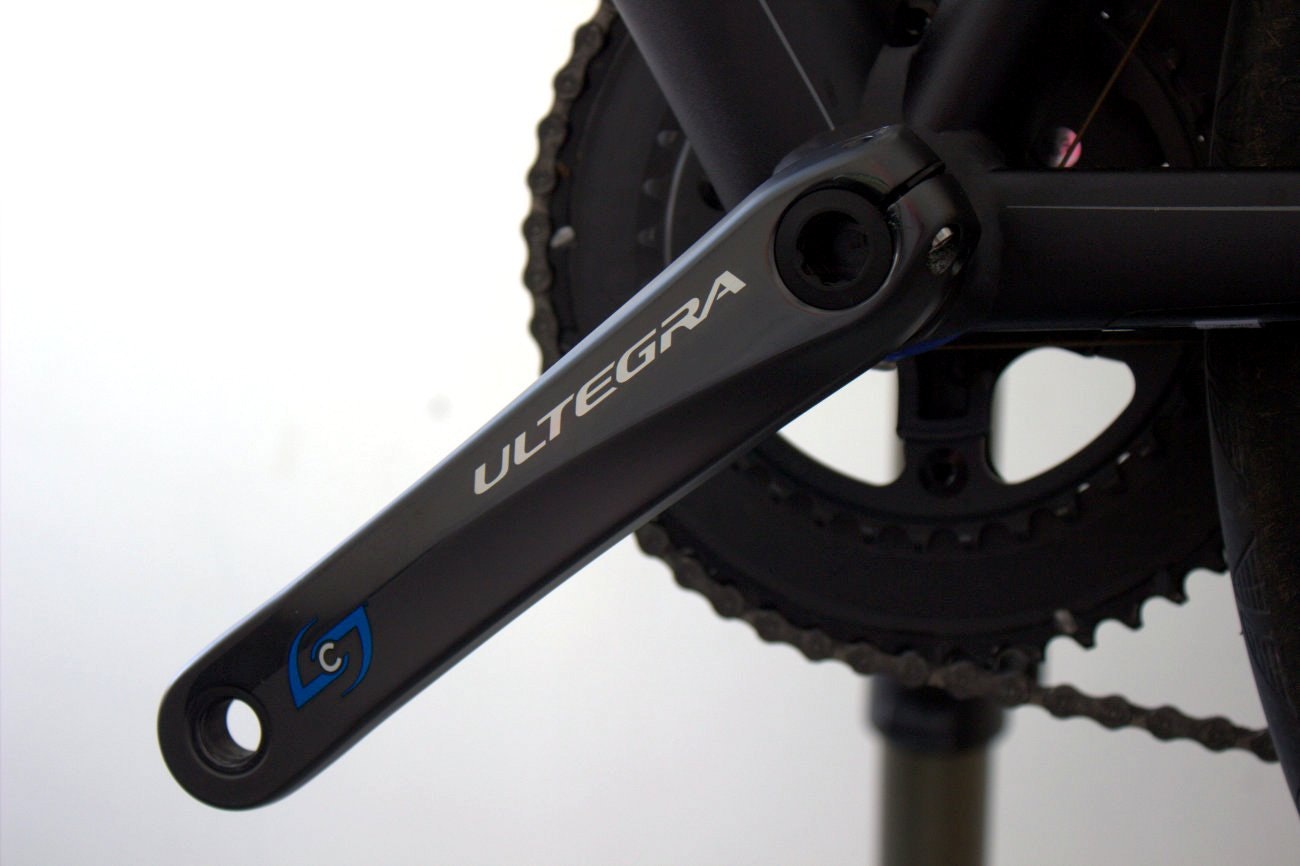
When you've removed the existing non-driveside crank arm, slide the Stages crank onto the axle, being careful to make sure that it's at exactly 180 degrees to the opposite arm
-
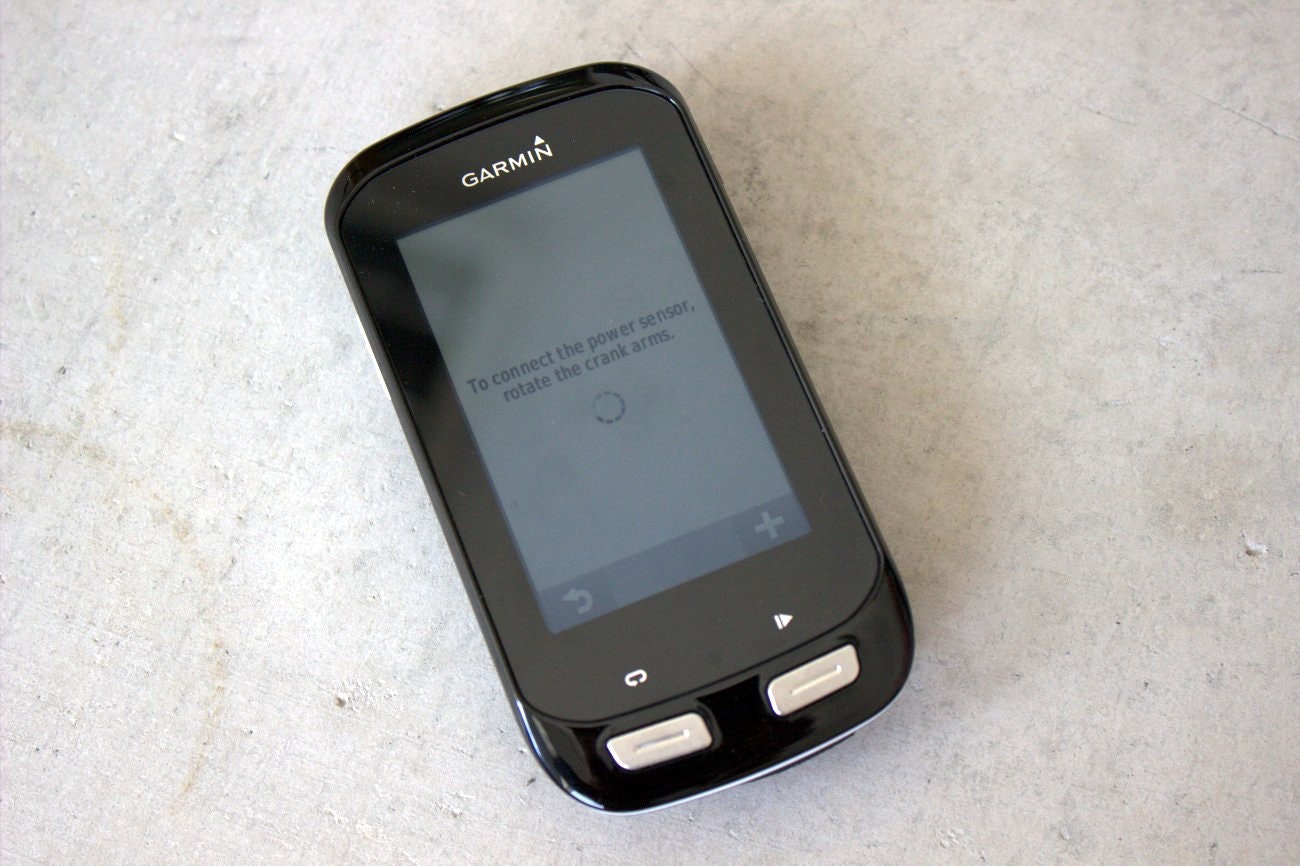
The process of pairing with a head unit will vary depending on which brand you have. We used Garmin's Edge 1000 for the purposes of this feature
Pairing with your head unit
Now obviously this is going to vary according to which bike computer you prefer, but for the purposes of this we used a Garmin Edge 1000, and the basics will be similar across the whole Garmin range.
First off, you’ll want to spin the cranks for a few revolutions to wake up the Stages unit. Then, on the Edge 1000 go through settings > sensors > add sensor and then either ‘search all’ or ‘power’.
If you’re struggling with that, you can also find the four or five digit ANT+ ID of the Stages unit on the sticker inside the crank arm and enter that instead. One trick that Stages recommend if you’re struggling to pair the two is to turn off connectivity for any other devices you might have connected (cadence sensors, speed sensors and so on) so you don’t murky the proverbial waters of connectivity.
Once the Edge 1000 unit has registered the Stages power meter, the dumbbell icon will stop flashing and become solid blue, meaning the two are connected.
To calibrate the unit, make sure the Stages crank arm is pointing straight down. Go into the device menu on the Edge 1000, click on the dumbbell icon and select ‘calibrate’ from the list of options. On the Edge 1000, you can also calibrate the unit by swiping down from the top of the main screen and selecting calibrate from the range of options.
Once the unit has successfully calibrated then you’re ready to ride.


Share