Adjust derailleurs
-
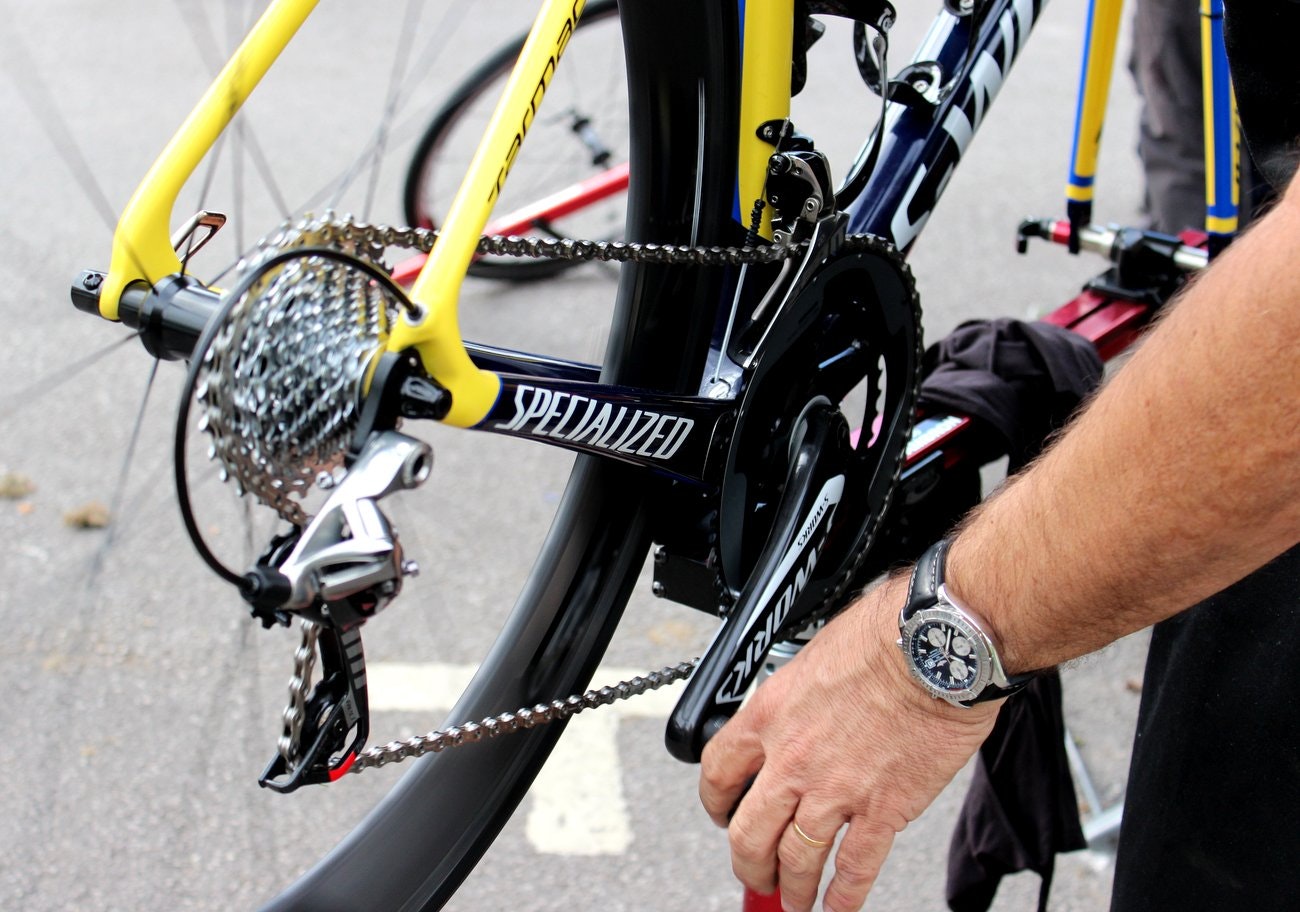
Learning to fix your own bike can save you the expense - both cost and time - of turning to a pro mechanic
-
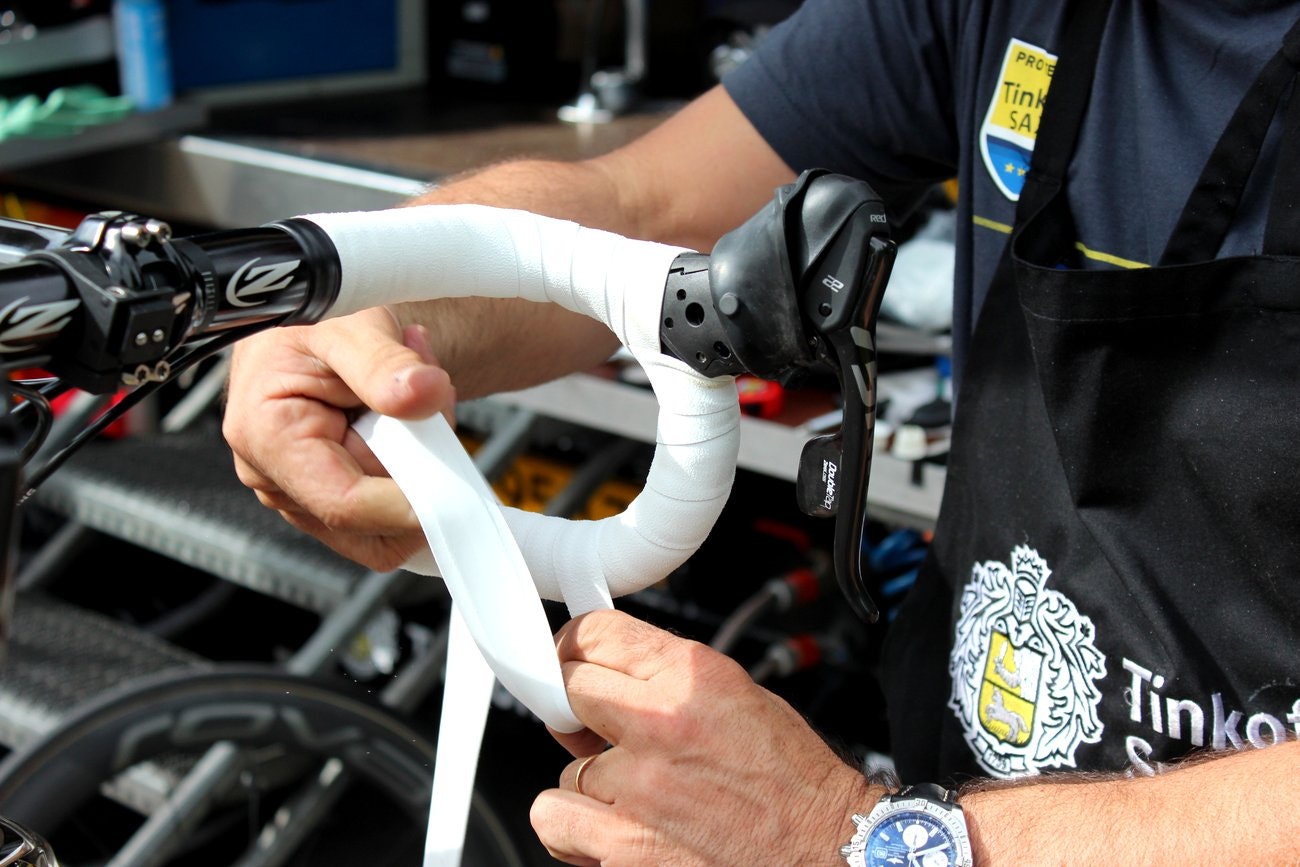
Fresh handlebar tape can do wonders when it comes to refreshing your ride
-
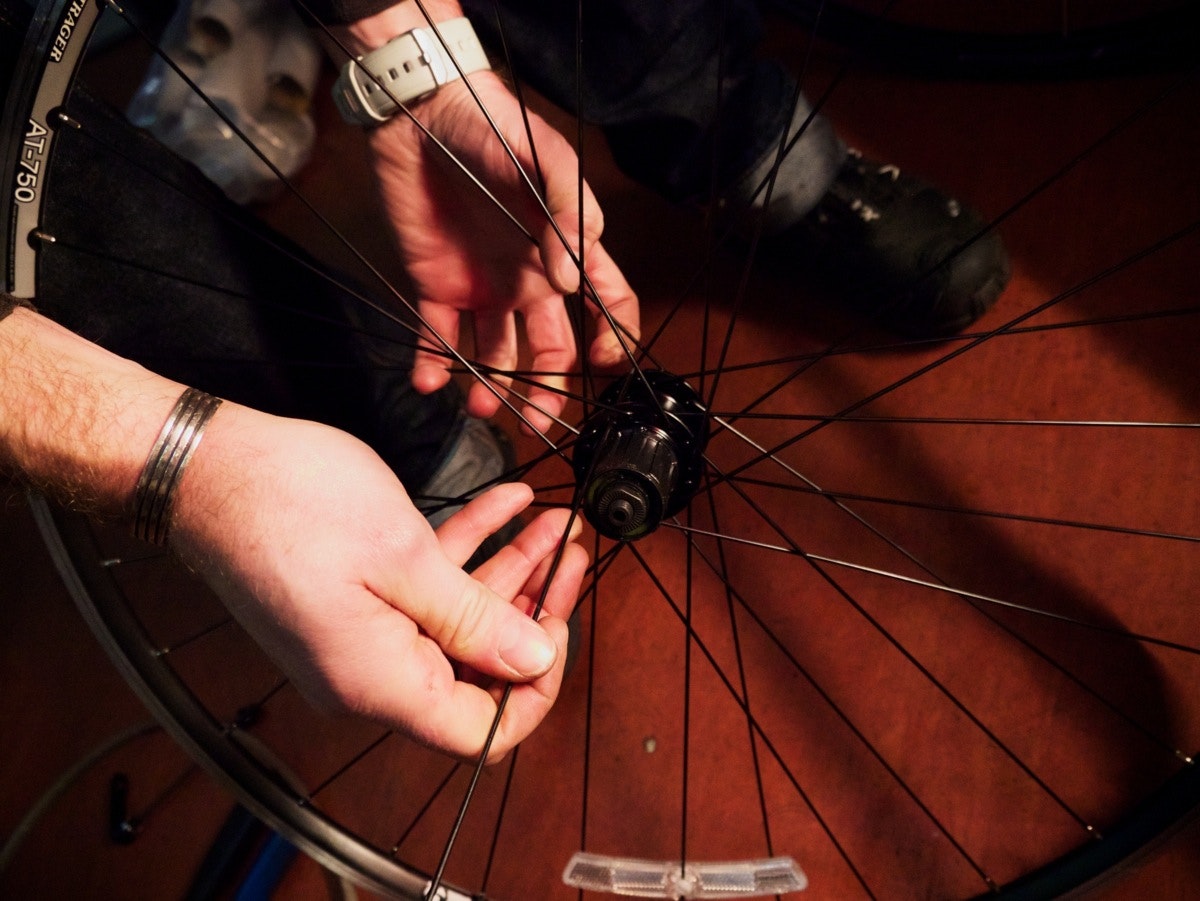
A broken spoke is relatively to fix with the right tools
-
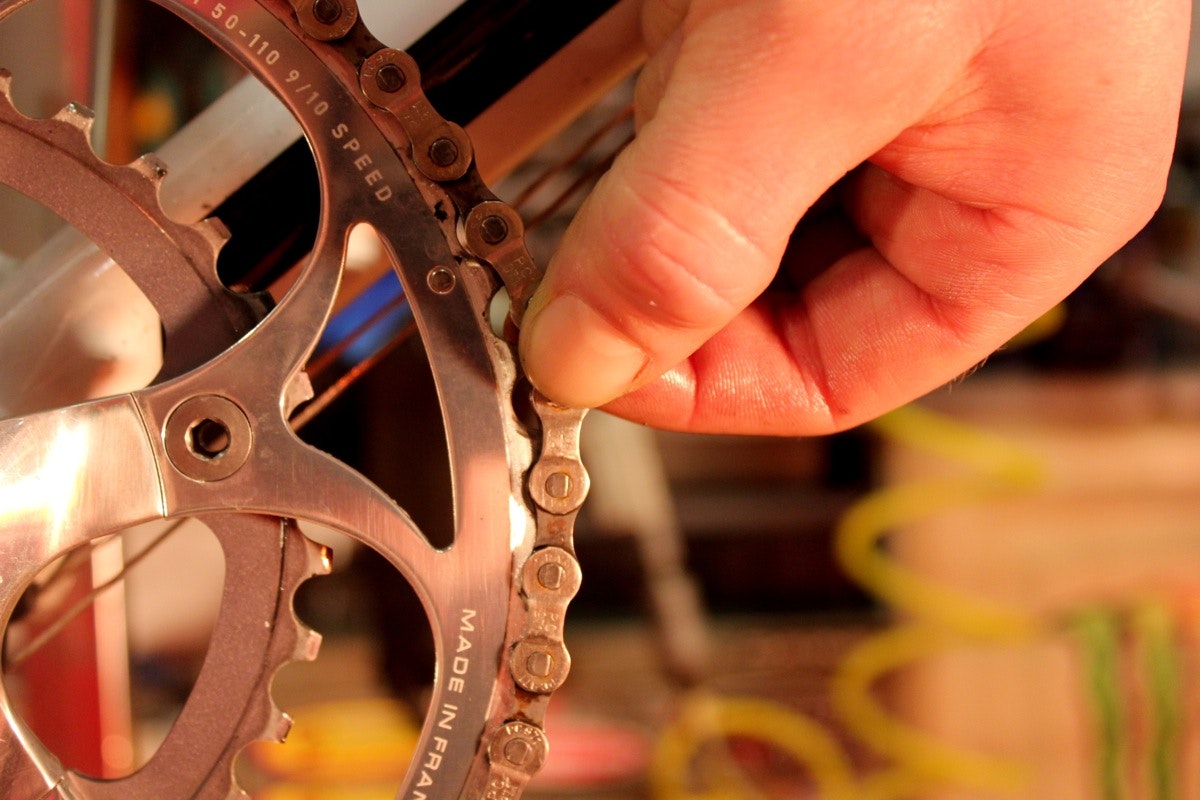
Chain wear can be checked manually by examining how many links can be lifted from the chainwheel
-
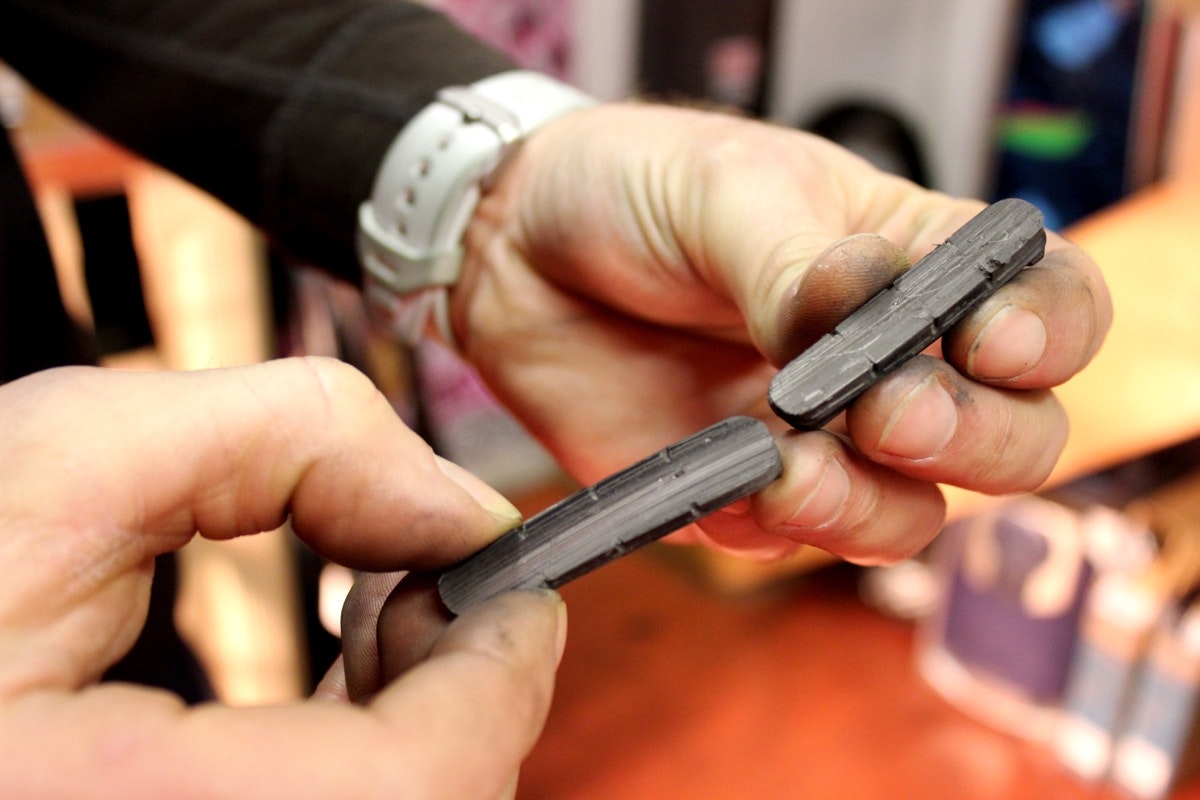
Brake pads will naturally wear over time, and it is essential to check them regularly
-
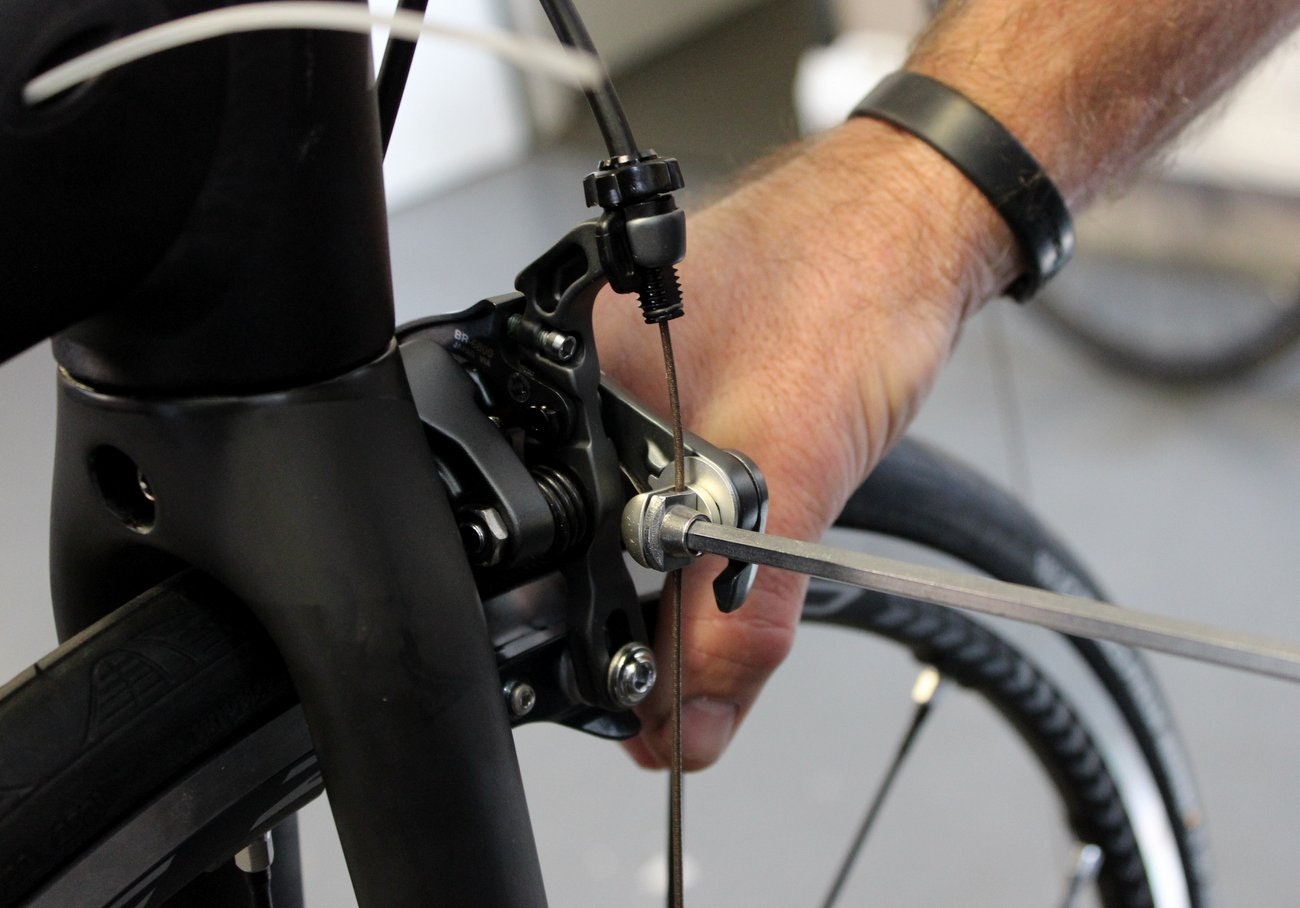
Prevention is better than cure when it comes to replacing a brake cable
-
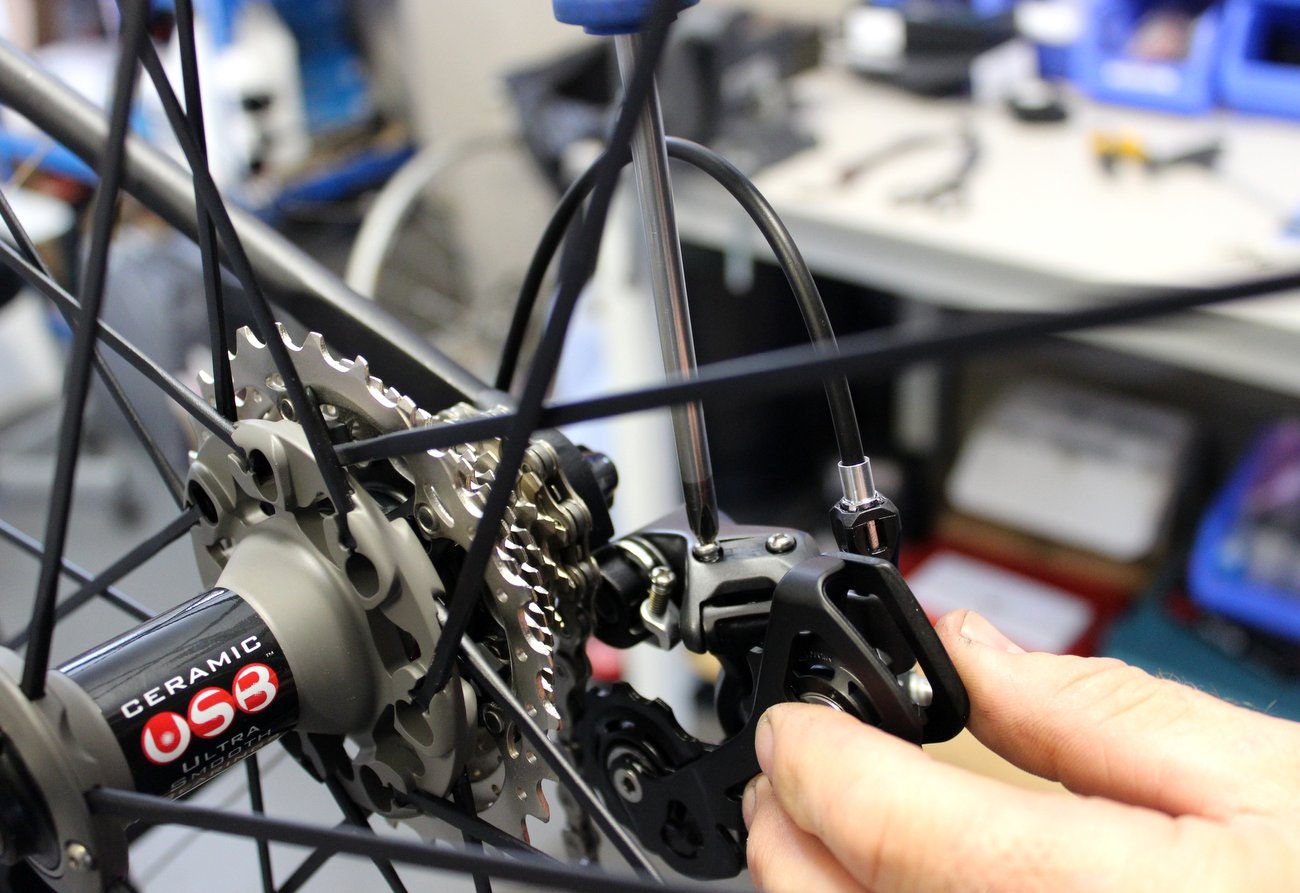
Ensuring that your derailleurs are properly adjusted will help to keep your shifting smooth
Adjust derailleurs
Correct adjustment of the front derailleur means smooth shifting and none of the irritating noise of chain rub; adjusting the rear derailleur, meanwhile, is necessary to maintain fast, accurate and reliable shifting across the cassette.
Starting with the rear, it is – usually – equipped with a series of simple mechanisms to adjust its travel and the tension of the cable controlling it.
Among these are the limiter screws, marked H and L (high and low), and small adjustments are the way forward (half or quarter turns) if you want to avoid causing yourself more bother.
The ‘B tension’ (or angle adjustment) screw is the next thing to check – particularly if you have installed a larger cassette for, say, a mountainous sportive.
The B-tension screw should be adjusted, by screwing clockwise, to ensure the top jockey wheel is positioned close to the cassette – helping to ensure a crisp shift.
At the front, two limiter screws, the barrel adjuster and the height adjustment between the derailleur and the top of the chainrings can all be addressed.
The derailleur should be sat just a couple of millimetres above the chainring, and should be parallel with the chainrings.
The inner limiter screw controls shifting from the outer chainring to the inner, and should be turned so the chain is afforded a small gap to the inside plate of the front derailleur’s cage – too large a gap can throw it off, too small will rub.
The outer limiter screw, meanwhile, should be adjusted with the tension of the cable (using the barrel adjuster) to move the derailleur outwards and away from the chain – micro-adjustment is key if you want to achieve the perfect balance.
Check out our video guides on adjusting the rear derailleur, and adjusting the front derailleur for more information on each.


Share